Configuring the package
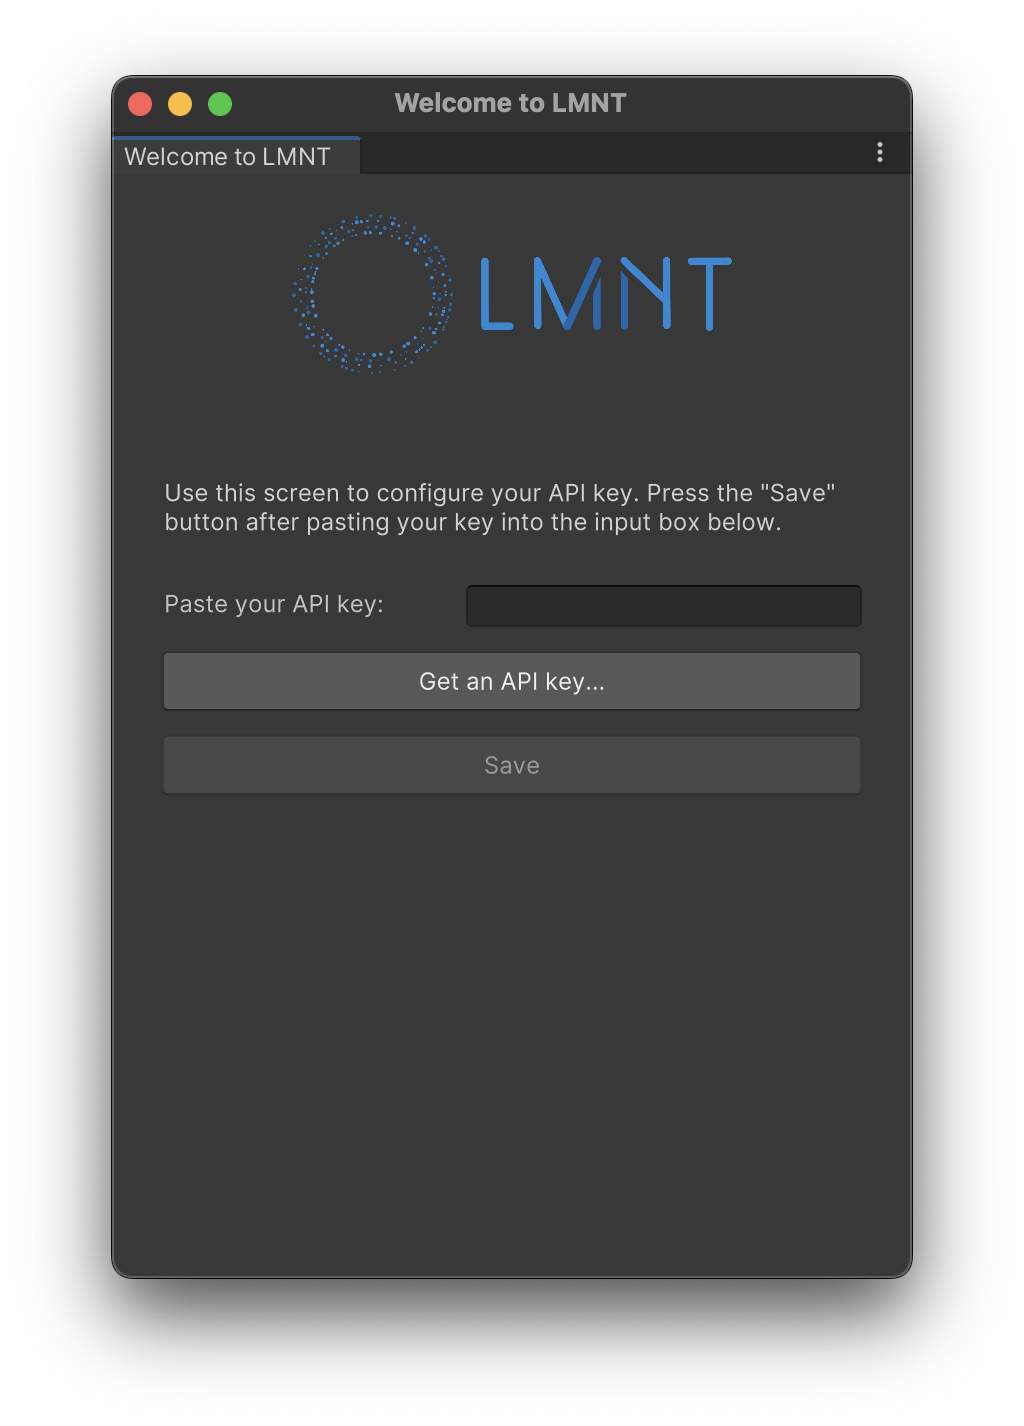
Once you’ve added the package to your project (see Installation Guide), you’ll need to configure it with an API key. SelectLMNT > Configure API Key... from the menu bar.

Get an API key... button.

Save button to continue. That’s it!
You’re all set to add dialogue to your game objects.
Adding dialogue to a GameObject
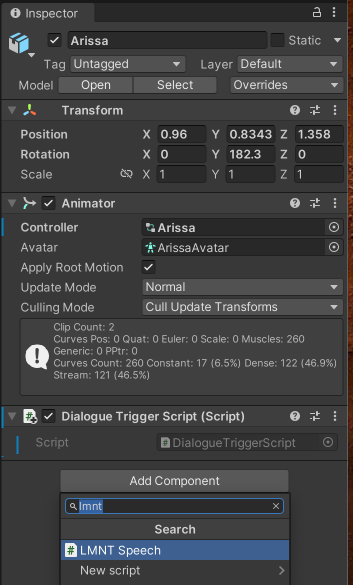
Select a GameObject that you want to speak, and add an LMNT Speech Component in the Inspector.

GameObject to say.

Triggering dialogue from a script
Now that yourGameObject’s dialogue is configured, you can trigger it from a script. The easiest way
to do that is by adding the following code to your MonoObject:
DialogueTriggerScript.cs file in the LMNT package.
Changing dialogue at runtime
You can also use your script to change the dialogue at runtime. For example, you can change the text to be spoken by theGameObject by calling speech.dialogue = "New text to say";. This will overwrite
the text you wrote in the Inspector.
